Aquatic Knowledge
How to Plant Plants in Aquarium Gravel: A Step-by-Step Guide
Planting aquatic plants in aquarium gravel can transform your tank into a lush, green paradise. However, it’s not as simple as just plopping plants into gravel and hoping for the best. There’s a process to ensure your plants thrive and contribute to a balanced ecosystem. This guide will walk you through how to plant plants in aquarium gravel, offering tips, tricks, and the essentials for a healthy, planted tank.
Why Choose Gravel for Planting?
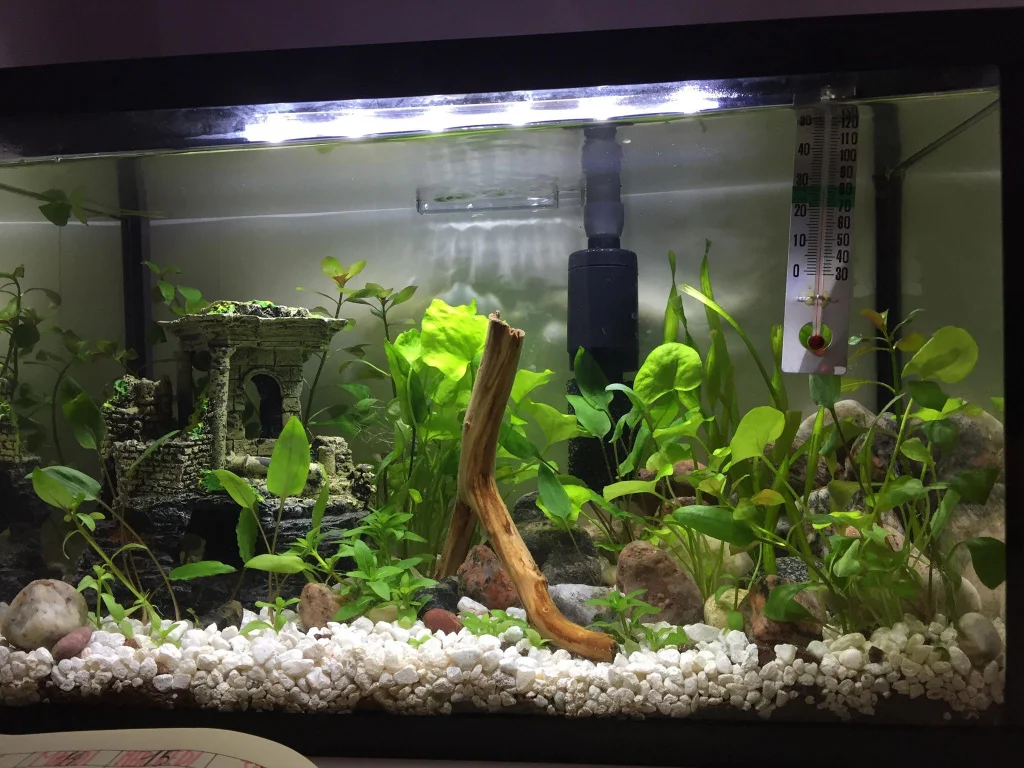
Before diving into how to plant plants in aquarium gravel, let’s address the big question: Why gravel? Gravel is a popular choice for aquarium substrates because it’s easy to work with, available in various colors and sizes, and provides adequate aeration for plant roots.
Benefits of Gravel for Aquarium Plants
- Good Aeration: Gravel allows better water flow through the substrate, ensuring roots have access to oxygen.
- Ease of Maintenance: Gravel is relatively easy to clean and doesn’t compact as much as sand.
- Visual Appeal: You can find gravel in many colors and sizes, allowing for a customizable, aesthetically pleasing look in your tank.
However, gravel alone doesn’t provide nutrients for plants, so you’ll need to compensate with fertilizers or supplements to help your plants grow.
How to Plant Plants in Aquarium Gravel
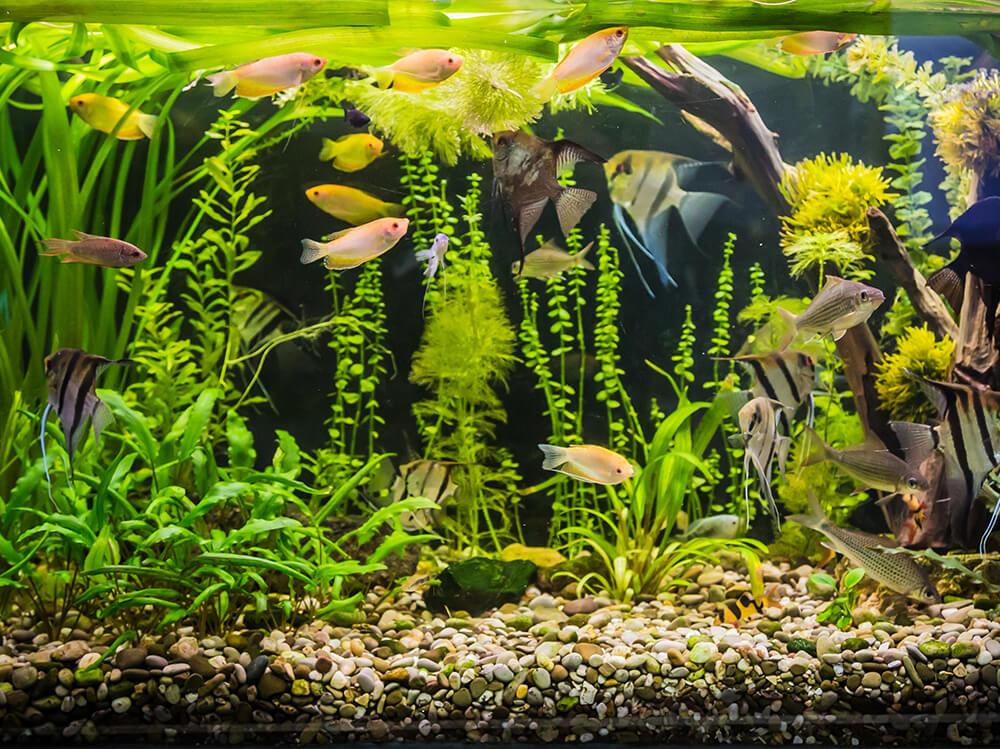
Now, let’s get to the heart of the matter—how to plant plants in aquarium gravel. Follow these steps to ensure your aquatic plants establish strong roots and grow beautifully.
Step 1: Choose the Right Plants for Gravel Substrate
Not all plants will thrive in gravel alone. It’s important to choose species that can grow well with minimal substrate nutrients, or that get nutrients from the water column.
Best Plants for Gravel Substrates
- Java Fern: Attaches to hard surfaces, like driftwood or rocks, but can also grow in gravel.
- Anubias: Another plant that doesn’t rely on substrate nutrients, and grows well with its rhizome exposed.
- Cryptocoryne: Root feeders that prefer richer substrates but can adapt to gravel with root tabs.
Step 2: Prepare the Gravel
Make sure the gravel is clean before adding it to the tank. Rinse the gravel thoroughly to remove any dust or debris that could cloud your water.
Gravel Size and Depth
- Gravel Size: Opt for gravel with small to medium-sized grains. Large gravel may make it difficult for plants to root.
- Depth: The gravel should be about 2-3 inches deep. This provides enough space for plant roots to anchor themselves.
Step 3: Add Nutrients for Plant Growth
As gravel lacks the necessary nutrients to sustain plants long-term, you’ll need to supplement it.
Options for Adding Nutrients
- Root Tabs: These are fertilizer tablets that you bury in the gravel near your plants. They release nutrients slowly and provide essential elements directly to the roots.
- Liquid Fertilizer: Some plants, like floating plants, benefit from liquid fertilizers that add nutrients directly to the water.
- DIY Fertilizer: If you prefer a budget-friendly option, you can create your own plant fertilizer with household ingredients.
Step 4: Plant the Plants in the Gravel
Now for the exciting part—planting! Here’s how you can securely plant your aquatic greenery in the gravel.
Planting Technique
- Make a Hole: Use your fingers or a planting tool to make a small hole in the gravel where you want to place the plant.
- Insert the Plant: Gently place the plant’s roots into the hole. Be careful not to damage the roots, especially if they’re delicate.
- Cover the Roots: Lightly cover the roots with gravel to anchor the plant. The roots should be covered, but don’t bury the base of the plant too deeply as it could rot.
Step 5: Secure the Plants
Some plants might float to the surface if they aren’t planted deeply enough or if their roots aren’t established yet.
Tips for Securing Plants
- Use Tweezers: Tweezers can help you position plants more precisely.
- Weigh Plants Down: You can use small rocks or plant weights to keep the plants anchored until their roots develop.
Step 6: Provide Proper Lighting
Plants need light to photosynthesize and grow. Make sure your lighting is adequate for the type of plants you’ve chosen.
Lighting Recommendations
- Low-Light Plants: Java Fern and Anubias do well in low-light environments.
- High-Light Plants: If you’re growing more demanding plants like carpeting species, consider high-output LED lights.
Step 7: Maintain Water Conditions
Plants thrive in stable water conditions. Monitoring and adjusting water parameters will help your plants flourish.
Water Conditions to Monitor
- pH Levels: Most plants prefer a neutral pH (6.5-7.5).
- Water Hardness: Soft to moderately hard water is ideal for most plants.
- Temperature: Keep the water between 72-80°F, as most tropical plants thrive in this range.
Other Substrates vs. Gravel: Which is Better for Plants?
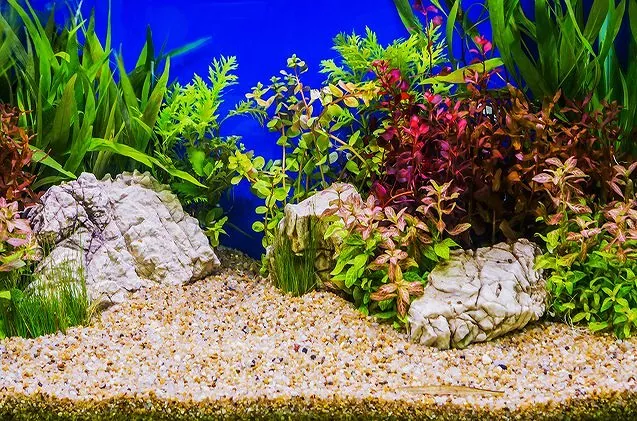
Gravel isn’t the only substrate you can use for planting. Let’s compare other common options.
Gravel vs. Sand
Sand is more compact than gravel, which can make it harder for roots to penetrate and get oxygen. However, sand is better for some bottom-dwelling species that enjoy sifting through the substrate.
Gravel vs. Soil
Soil substrates are nutrient-rich, making them ideal for demanding plants. The downside is that they can be messy and may require more maintenance compared to gravel.
Gravel vs. Specialized Plant Substrates
There are substrates specifically designed for planted aquariums, which come pre-loaded with nutrients. However, these can be more expensive than traditional gravel and might need to be replaced more often.
How to Care for Aquarium Plants in Gravel Long-Term
Planting your plants in gravel is just the first step. You’ll need to care for them regularly to ensure they continue to thrive.
Trimming and Pruning
Plants can grow quickly in the right conditions. Regular trimming will help maintain their shape and prevent overcrowding.
Fertilizer Routine
Establish a routine for adding root tabs or liquid fertilizers. Over time, you’ll learn how much fertilizer your plants need based on their growth rates.
Water Changes
Perform regular water changes to prevent nutrient build-up, which can lead to algae growth and harm your plants.
Benefits of Having Live Plants in Your Aquarium
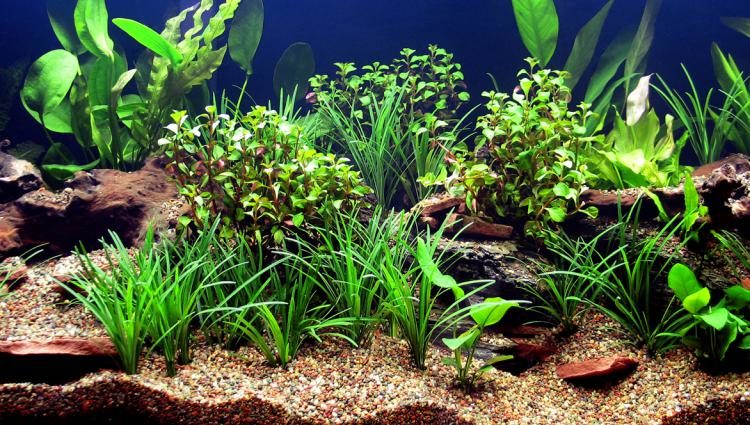
Planting live plants in gravel offers numerous benefits for both your fish and your overall aquarium health.
Improved Water Quality
Plants absorb excess nutrients and CO2, helping to keep your water clean and oxygen-rich.
Natural Shelter for Fish
Live plants provide hiding spots for fish, making them feel more secure. They can also act as breeding grounds for some species.
Aesthetic Appeal
Nothing beats the look of a well-planted tank. Live plants bring a natural, vibrant feel to your aquarium, and the contrast between the green leaves and colorful fish is stunning.
Conclusion
Learning how to plant plants in aquarium gravel is a rewarding experience that adds beauty and functionality to your tank. By following these steps and taking care of your plants with proper lighting, nutrients, and water conditions, you can create a thriving aquatic garden. Don’t forget to supplement your gravel with root tabs or liquid fertilizers, and give your plants time to establish their roots. Enjoy the process and watch your aquarium come to life!
FAQs
- Can you plant aquarium plants in just gravel?
Yes, you can plant many types of aquarium plants in gravel, but you’ll need to supplement it with fertilizers since gravel doesn’t provide many nutrients. - Do aquarium plants grow better in sand or gravel?
It depends on the plant species. Some plants prefer the stability and aeration of gravel, while others may do well in sand. - How deep should gravel be for aquarium plants?
Ideally, the gravel should be 2-3 inches deep to provide enough space for plant roots to anchor and grow. - Do I need CO2 to grow plants in gravel?
Not all plants require CO2. Low-tech plants like Java Fern and Anubias grow well without additional CO2. - How often should I use fertilizer in a gravel substrate?
Use root tabs every 4-6 weeks and liquid fertilizers weekly, depending on your plant’s needs and growth rate.
